Post by Twin_A on Oct 23, 2008 19:17:05 GMT -7
EDIT: Comments appreciated. let me know what you think k.
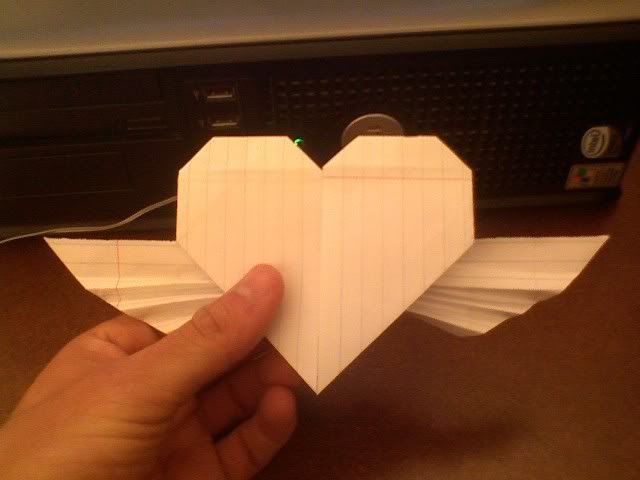
Alright before I get started I will tell you this: i have never made an online guide I've actually always taught in person. And geez what a pain in the *** it was but it was worth it. This is going to be the guide for how to make a heart with wings. It is one of the easiets things I know how to fold and it only has one slightly difficult for beginners origami technique (called an inside reverse fold, more on that when it comes up). A apologize if some of the pics are blurry but I was taking them with my phone while sitting here in a computer pod lol.
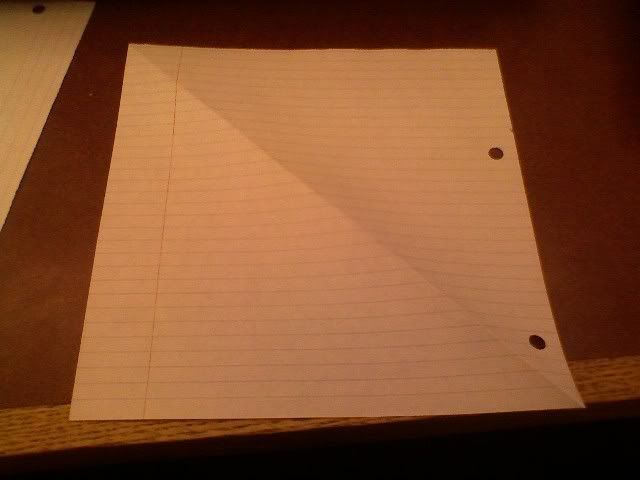
1. Alright before we begin you will need to get a square sheet of paper. this is really easy to do (I folded this just now out of notebook paper). Here is all you need to do (sorry no pics for this). Assuming you have a piece of printer paper or notebook, hold the paper so it is upright (long sides on the left and right). Fold the bottom side along to the left as if making a triangle. This will leave about 2 inches of the paper sticking out. All you need to do is cut that off or rip it (I recommend folding that piece over and over until the paper weakens). Unfold and you have a perfect square.
2. Fold that square in half
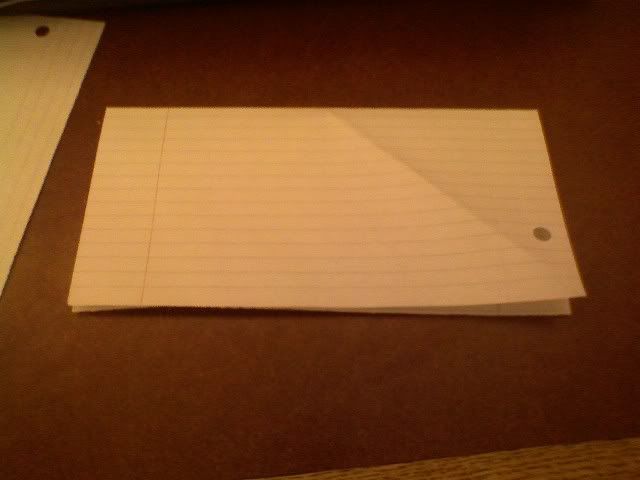
3. unfold the rectangle. Take the bottom corner and fold it up along the center crease (a crease is the bend in paper you just made. They are essential to doing origami correctly). Do the same with the other corner. You may have done this when you were younger and folded airplanes.
4. Turn over
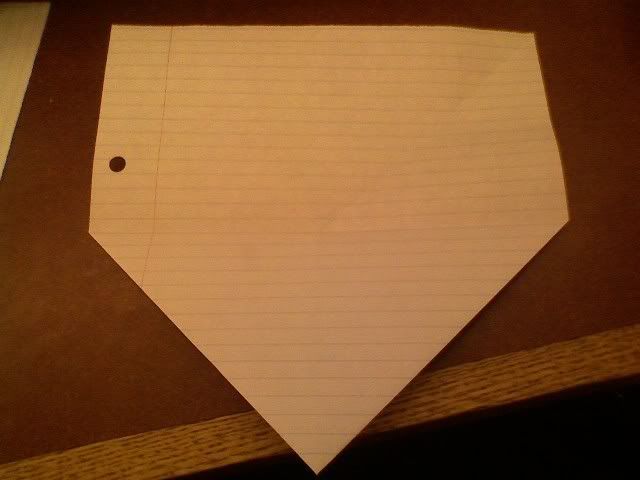
5. Fold the top quarter down to were it perfectly lines up with your center crease.

6. Again turn over.
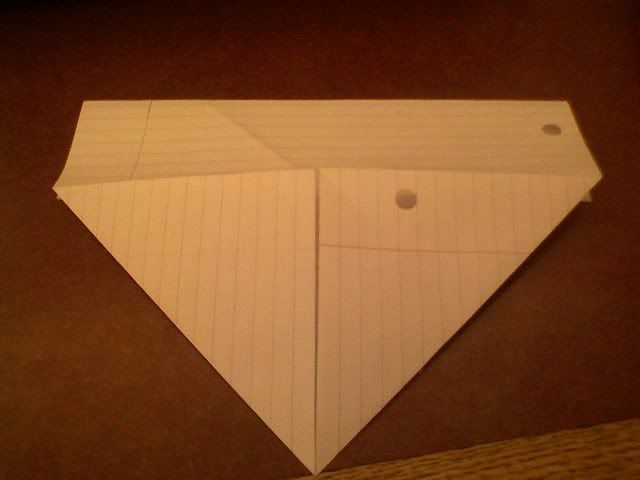
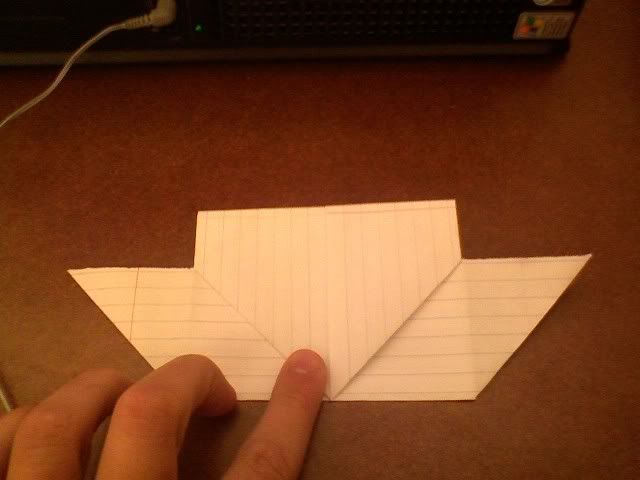
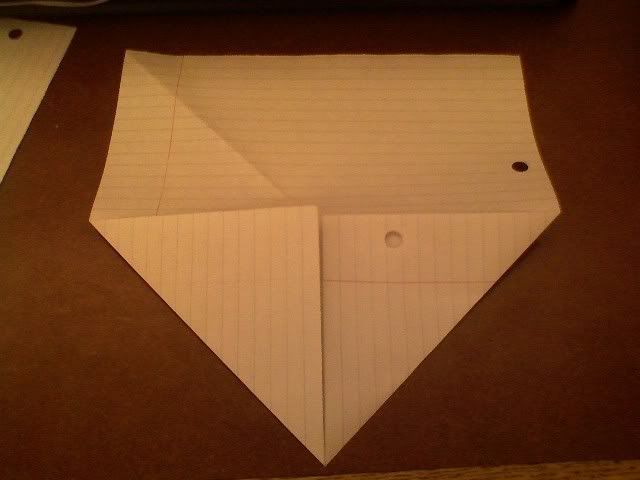
7. Now take the right side of the project and fold it to the center. Make sure it lines up correctly.
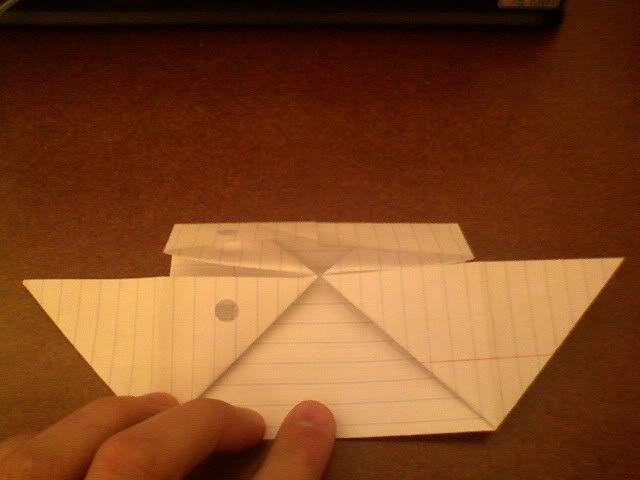
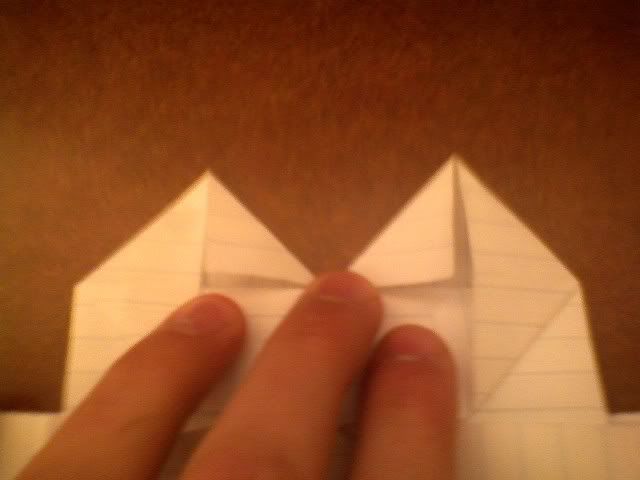
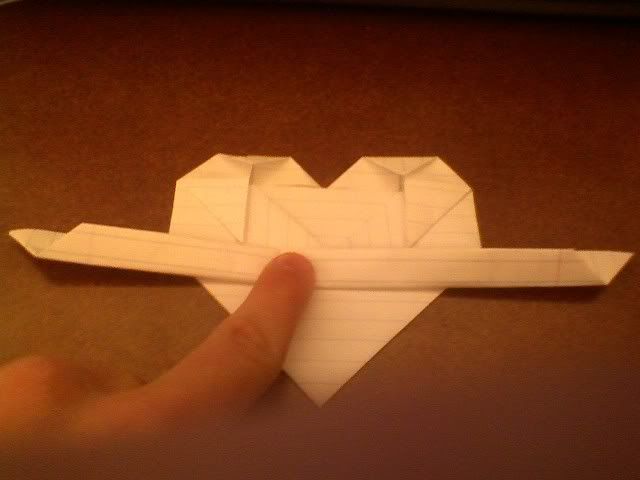
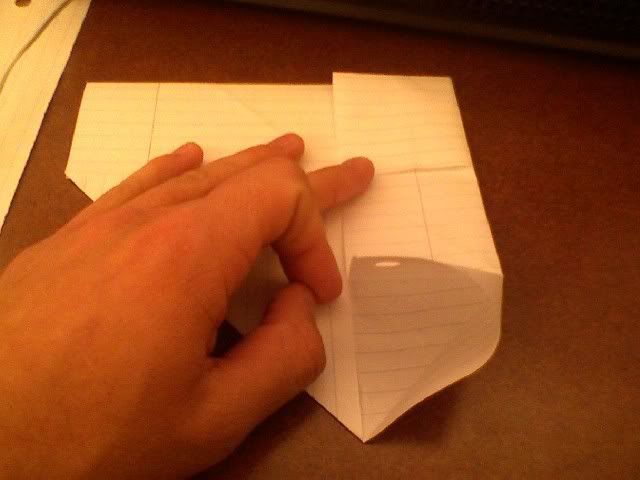
8. here is the only tricky part of the heart (and I'm sorry my pics aren't in more detail). Here you are going to unfold the right flap you just made. Now unfold the bottom corner and fold over the right side again. You should see an angled crease. Here you are going to do an inside reverse fold (which basically puts what was on the outside on the inside). Take your time with this step. It's easy after you do it a couple times but at first it can rip the paper if you try to rush it.
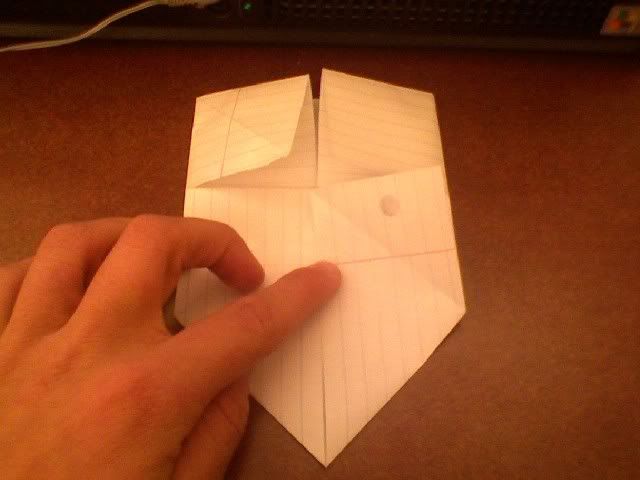
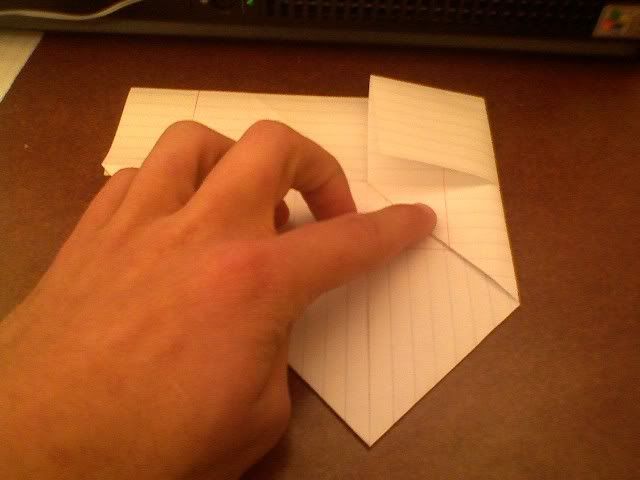
Notice here how I set my finger right next to the crease that should be made.
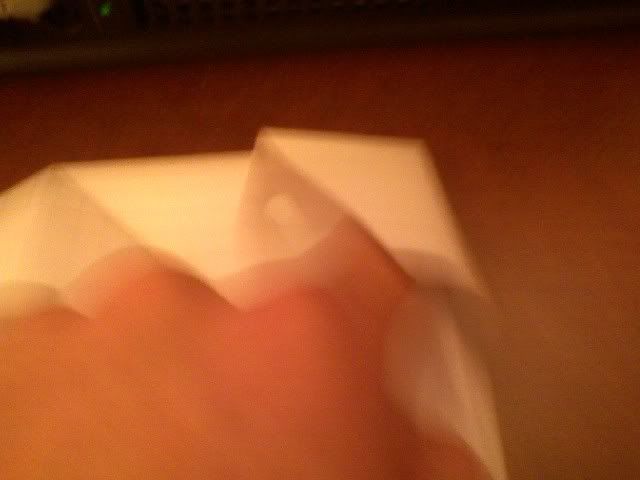
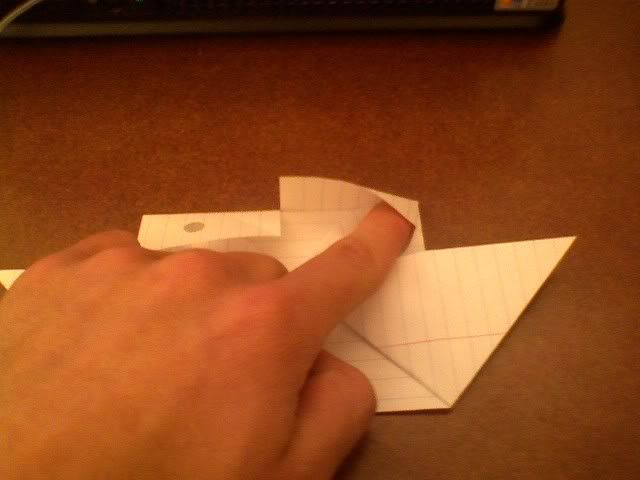
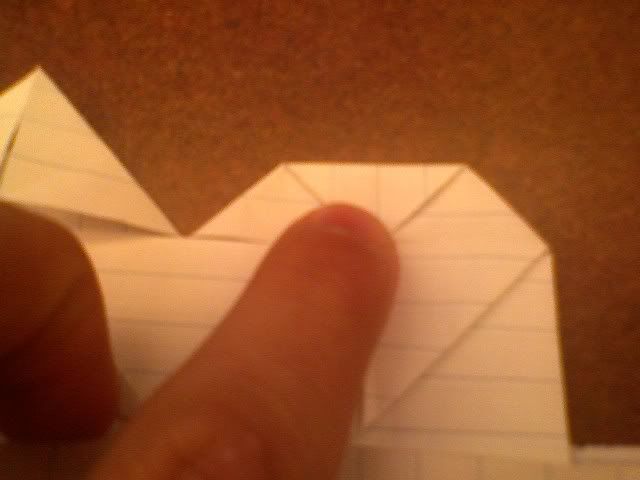
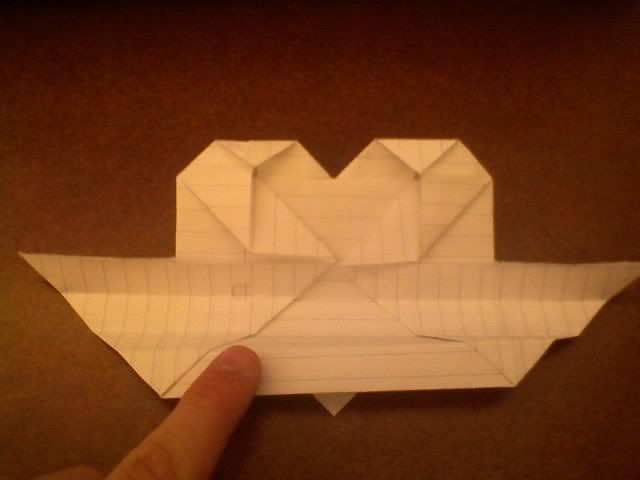
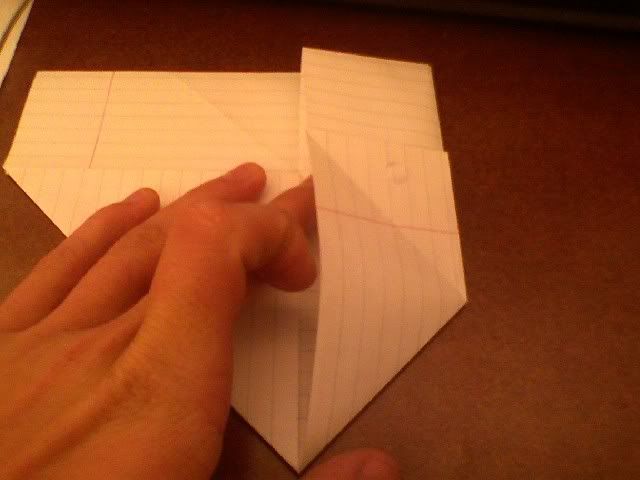
Now fold up along that crease.
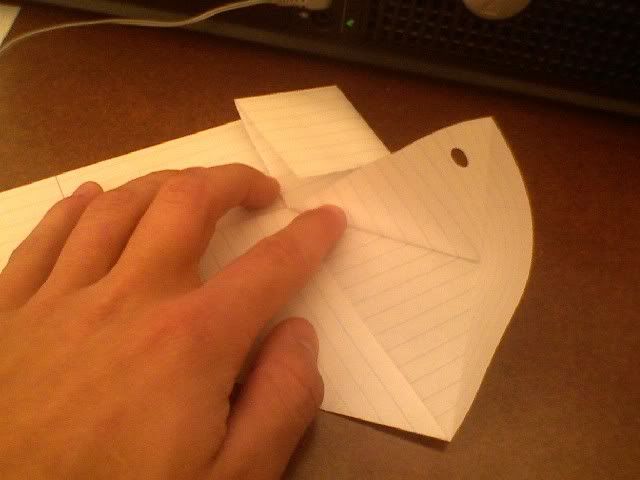
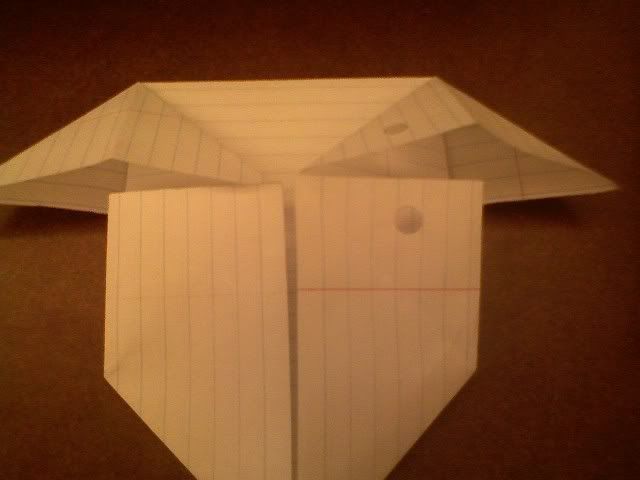
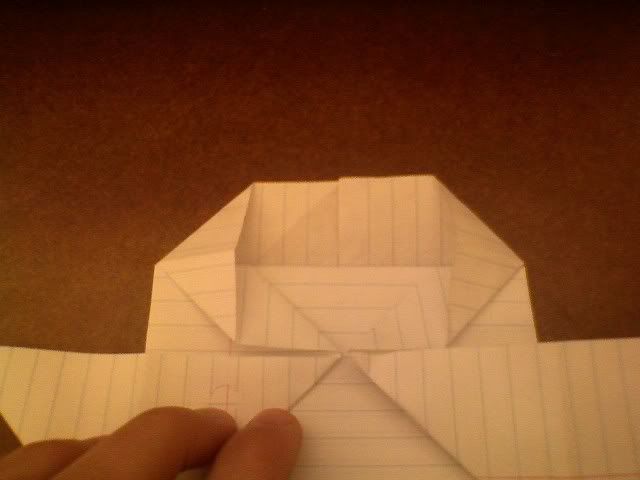
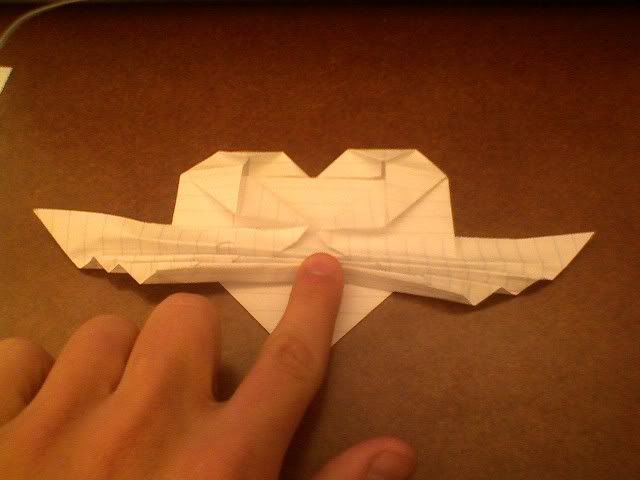
And flatten it.
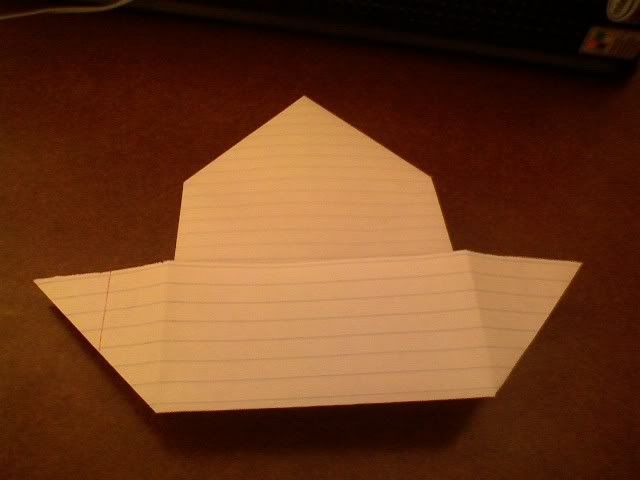
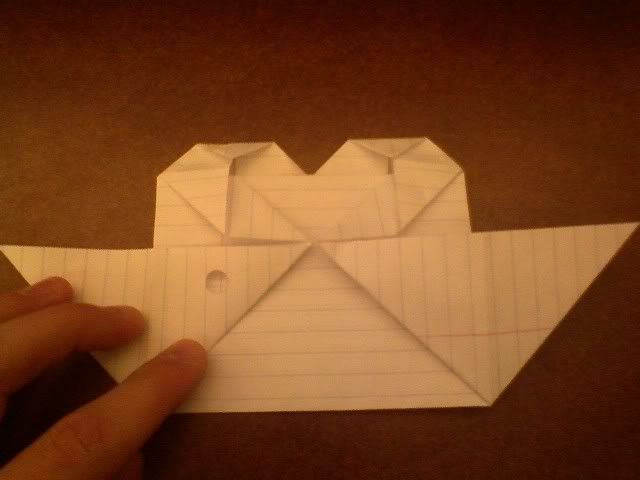
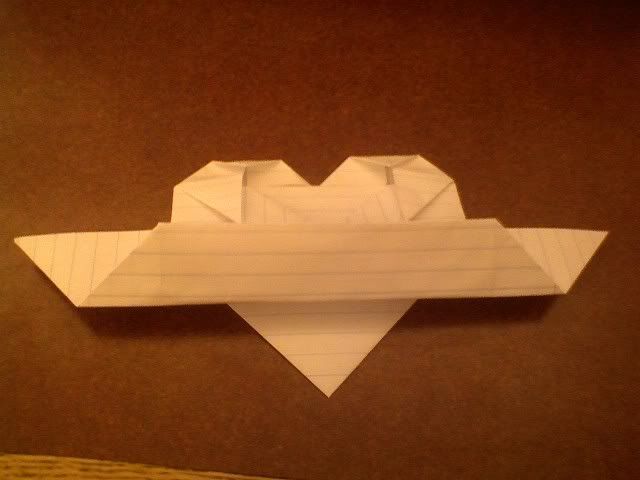
THIS POST BECAME TOO LONG TO HAVE PICS IN IT. THE REST WILL BE IN PART 2
Alright before I get started I will tell you this: i have never made an online guide I've actually always taught in person. And geez what a pain in the *** it was
 but it was worth it. This is going to be the guide for how to make a heart with wings. It is one of the easiets things I know how to fold and it only has one slightly difficult for beginners origami technique (called an inside reverse fold, more on that when it comes up). A apologize if some of the pics are blurry but I was taking them with my phone while sitting here in a computer pod lol.
1. Alright before we begin you will need to get a square sheet of paper. this is really easy to do (I folded this just now out of notebook paper). Here is all you need to do (sorry no pics for this). Assuming you have a piece of printer paper or notebook, hold the paper so it is upright (long sides on the left and right). Fold the bottom side along to the left as if making a triangle. This will leave about 2 inches of the paper sticking out. All you need to do is cut that off or rip it (I recommend folding that piece over and over until the paper weakens). Unfold and you have a perfect square.
2. Fold that square in half
3. unfold the rectangle. Take the bottom corner and fold it up along the center crease (a crease is the bend in paper you just made. They are essential to doing origami correctly). Do the same with the other corner. You may have done this when you were younger and folded airplanes.
4. Turn over
5. Fold the top quarter down to were it perfectly lines up with your center crease.
6. Again turn over.
7. Now take the right side of the project and fold it to the center. Make sure it lines up correctly.
8. here is the only tricky part of the heart (and I'm sorry my pics aren't in more detail). Here you are going to unfold the right flap you just made. Now unfold the bottom corner and fold over the right side again. You should see an angled crease. Here you are going to do an inside reverse fold (which basically puts what was on the outside on the inside). Take your time with this step. It's easy after you do it a couple times but at first it can rip the paper if you try to rush it.
Notice here how I set my finger right next to the crease that should be made.
Now fold up along that crease.
And flatten it.
THIS POST BECAME TOO LONG TO HAVE PICS IN IT. THE REST WILL BE IN PART 2